There are so many cute ideas on Pinterest using felt to create buttoning activities. However, if you aren’t super crafty, you can easily transform pre-made felt foods (like these sandwich pieces from Melissa & Doug) into a fun way to practice buttoning skills.
Here’s how we created a button sandwich!
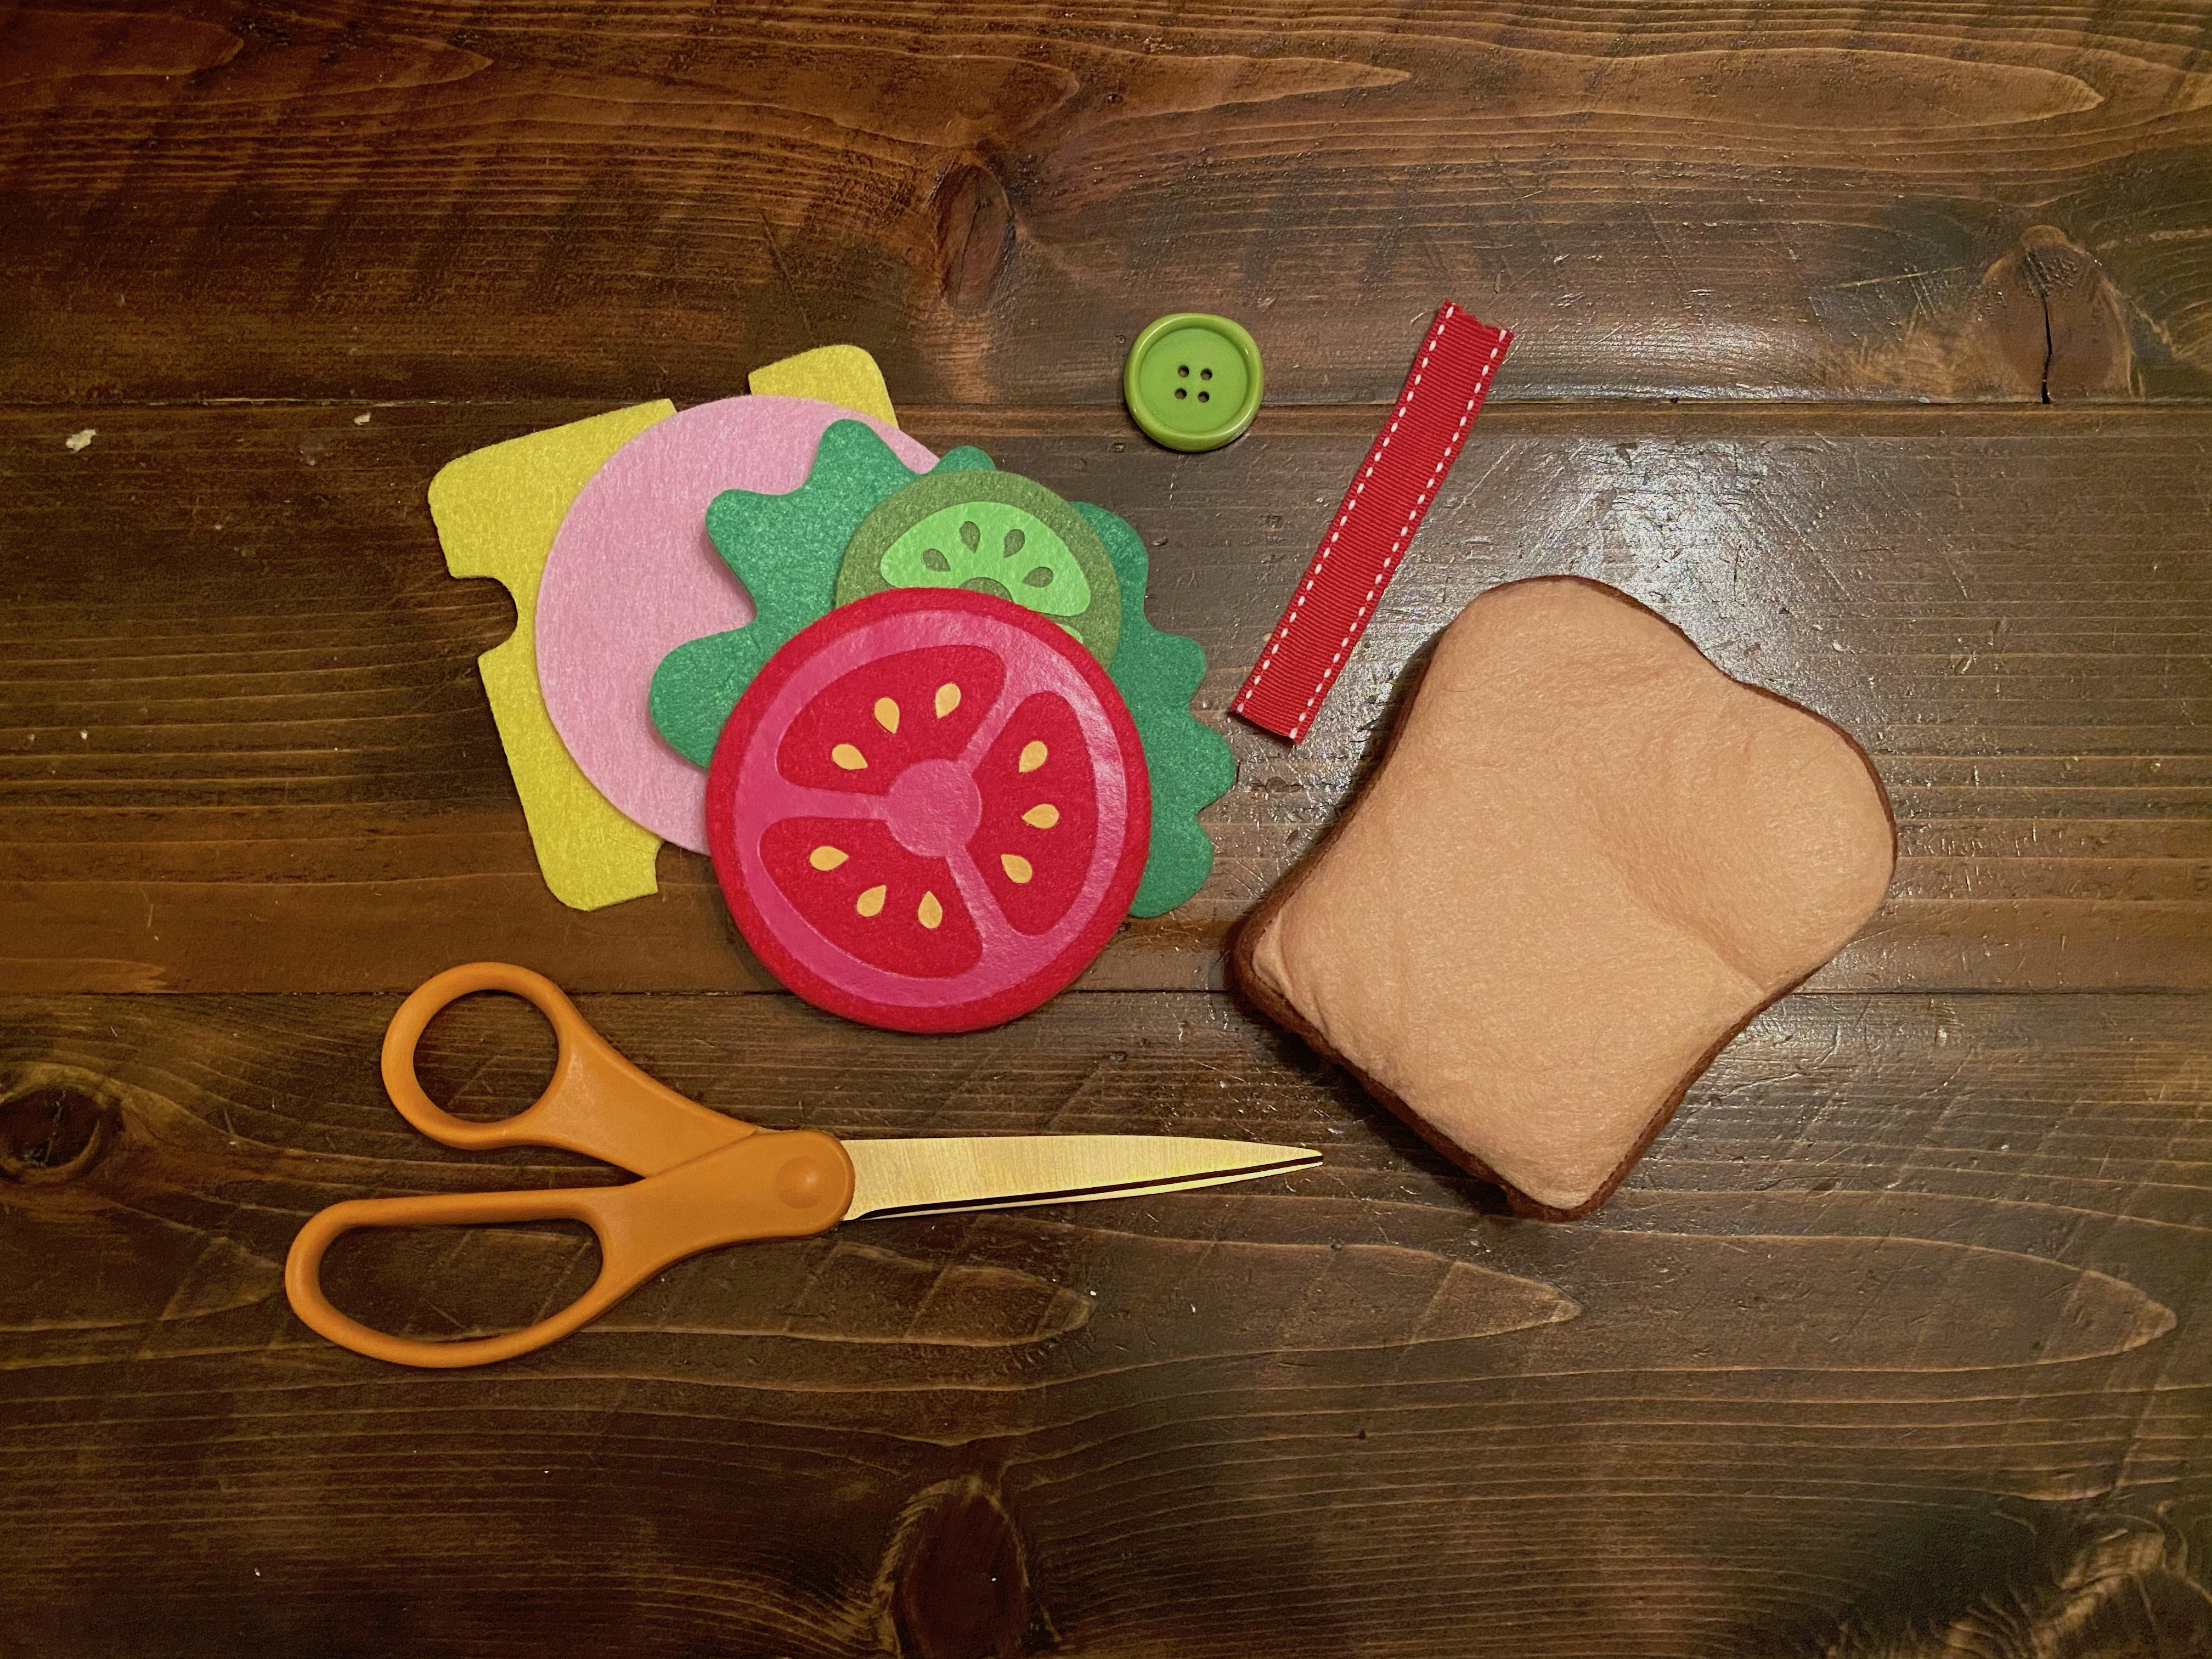
1. Sew a strip of ribbon to the center of one slice of bread.
Tip #1: Longer ribbons are easier to manipulate compared to shorter lengths. We used 3-inch strips, but you can use shorter pieces to increase the challenge.
2. Sew a button to the other end of the ribbon.
Tip #2: Large buttons are easiest, but just make sure the slits are large enough! We found these big 1.5” buttons at Joann.
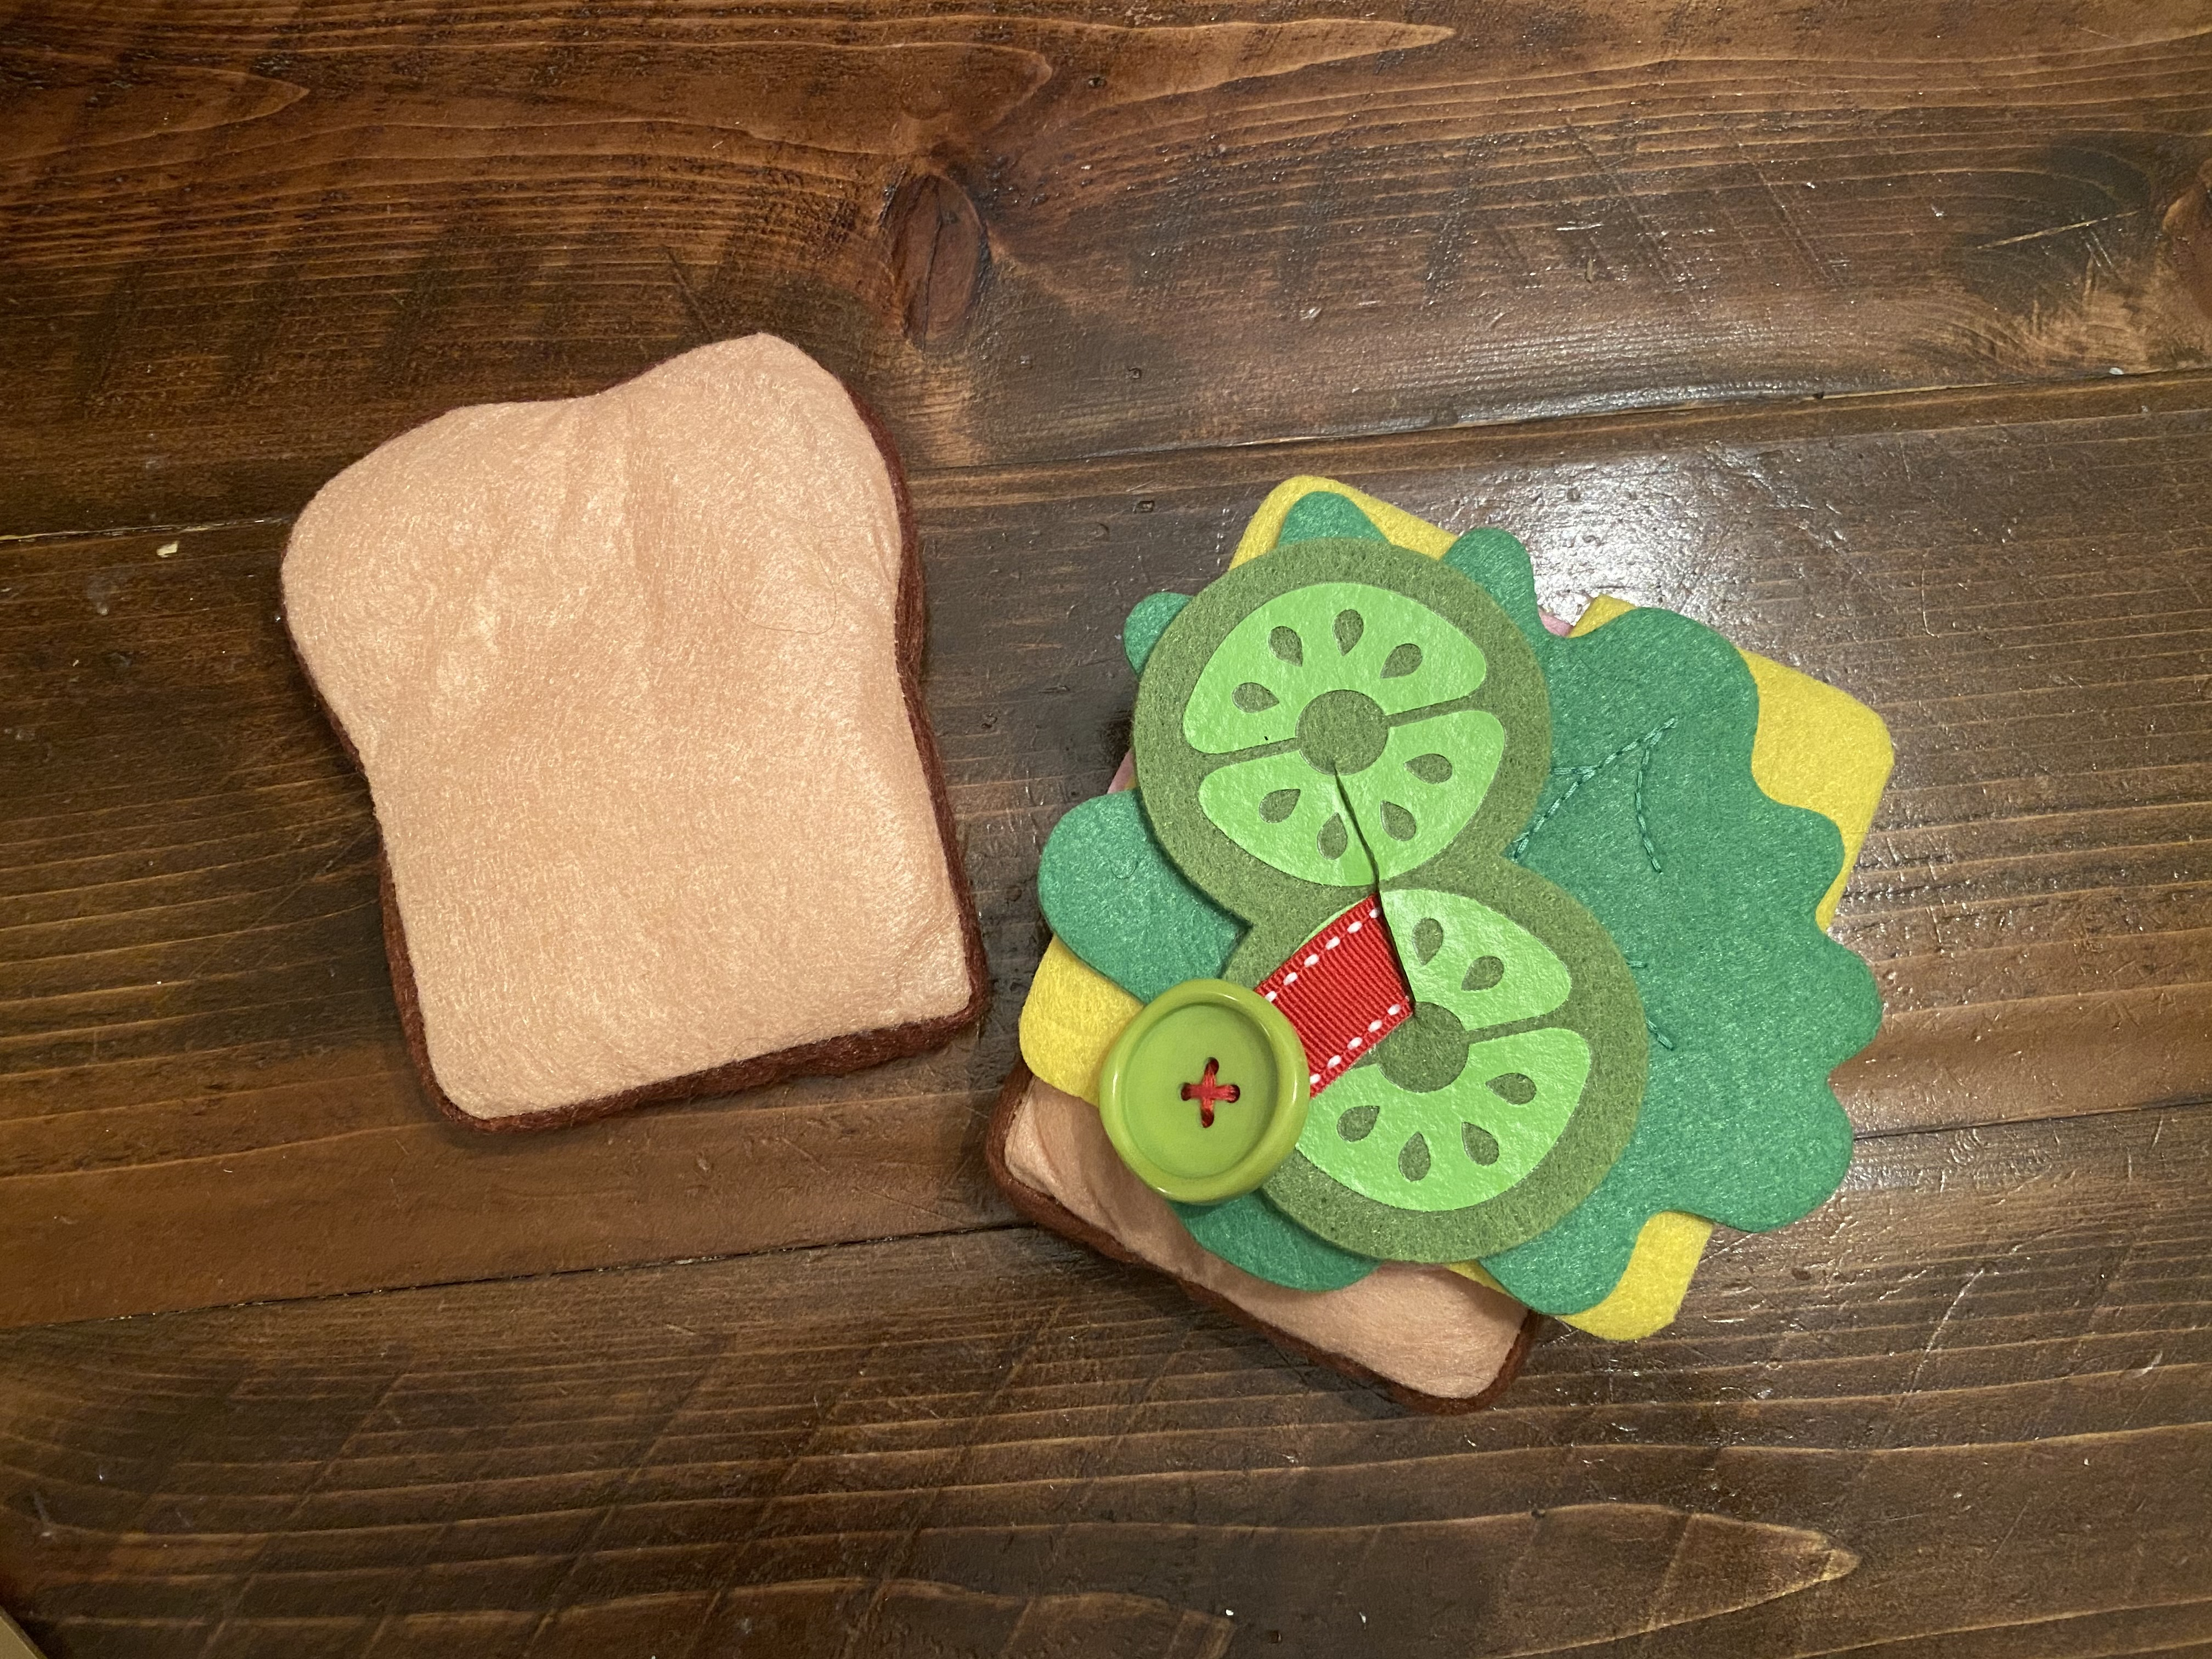
3. Use sharp scissors or an xacto knife to create a slit in the center of the felt that is slightly larger than the button. Thick felt with extra details might be too challenging to slit, so you’ll likely want to put those pieces aside.
Since it was full of stuffing, instead of creating a slit in the second piece of bread, it can just sit on top. If your end pieces are thin felt, feel free to slit those too!
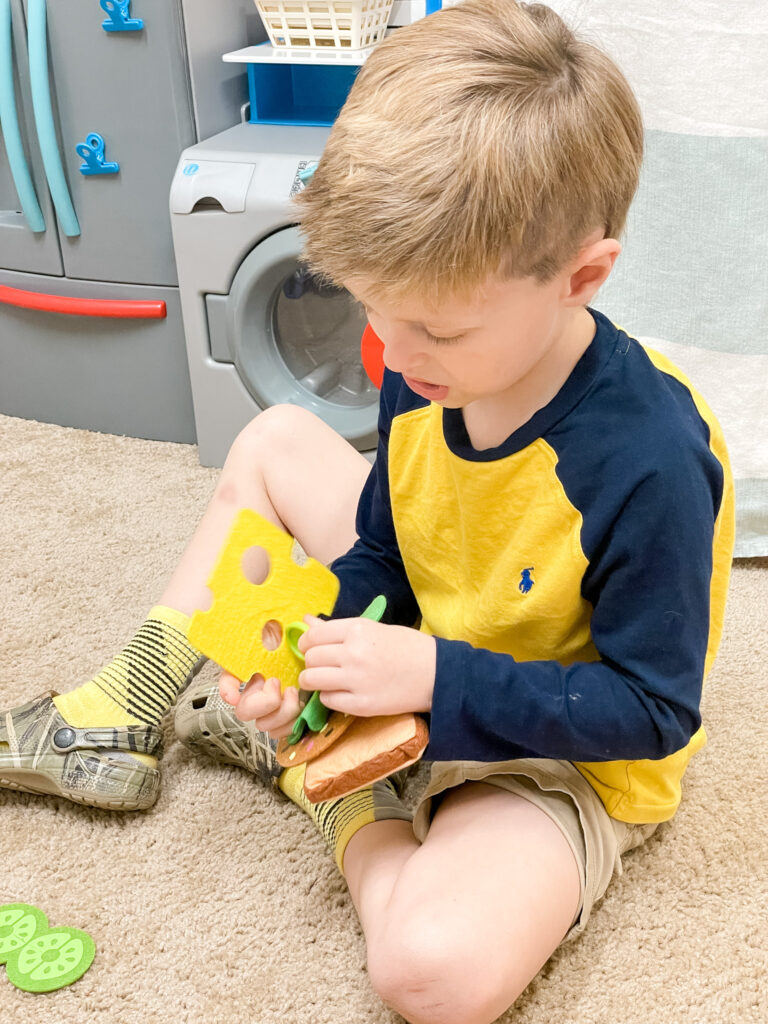
4. Enjoy your new button sandwich!
Aside from buttoning, here are some other ways to play:
Practice color and shape identification or letter sounds when sorting the food to develop academic skills
Take sandwich orders from family members and have your child remember the ingredient list to enhance short-term memory skills
Scan for ingredients scattered on the floor to promote visual perceptual skills
Easy enough, right? If you try it, show us your finished product!
PS – Let us know if you want to see more posts like this!